


Come learn how to make spooky AI Generated Artwork! Oct 18th at 7:30 pm at the Node. Midjourney, Dalle-2, and Stable Diffusion are software programs that allow users to generate images using artificial intelligence. Come to this jam session to learn how play with these programs, share pictures, and discuss […]

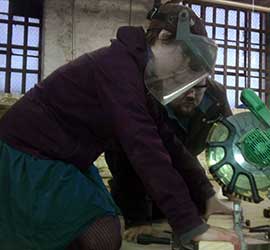
Butterfly joints make a fine practice project for showcasing a range of operations on some of the safer more beginner-friendly woodshop tools: sanders, jigsaw, and chisels. I wanted to make a large frame for an old map of a Baltimore neighborhood, using wood local to it; luckily, someone had recently […]
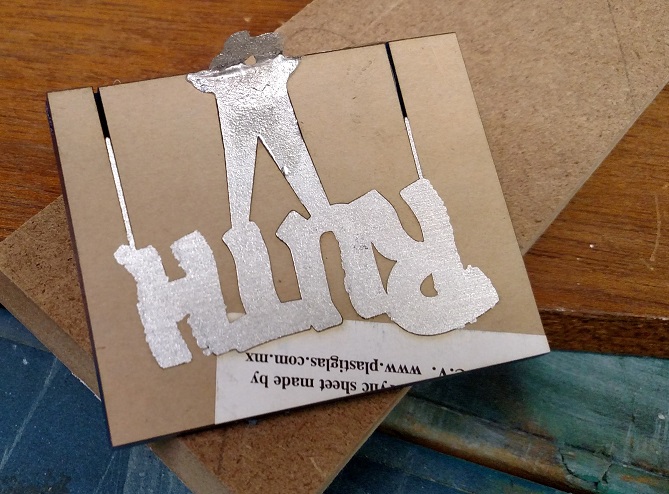
We’ve been experimenting a bit with metal casting recently. Pewter is a very easy metal to work with. Because of it’s low melting point, it can be poured into molds of a variety of materials. You can even melt it at home on the stove! At the Node, one of […]