Butterfly joints make a fine practice project for showcasing a range of operations on some of the safer more beginner-friendly woodshop tools: sanders, jigsaw, and chisels.
I wanted to make a large frame for an old map of a Baltimore neighborhood, using wood local to it; luckily, someone had recently felled a sycamore tree and cut it into some relatively straight firewood logs, which I quartersawed to bring out the figure. Unfortunately, the logs were each only about a foot long, well short of what I actually needed for framing; to use them, I’d need to butt join the boards to combine them into a much larger one.
There’s a few ways to do that of varying degrees of strength and attractiveness; as these things go a picture frame isn’t especially structurally demanding and almost entirely ornamental, so I decided some butterfly joints in a contrasting color would help turn the limitations of the material into a feature. A scrap piece of walnut fit the bill for the joining wood.

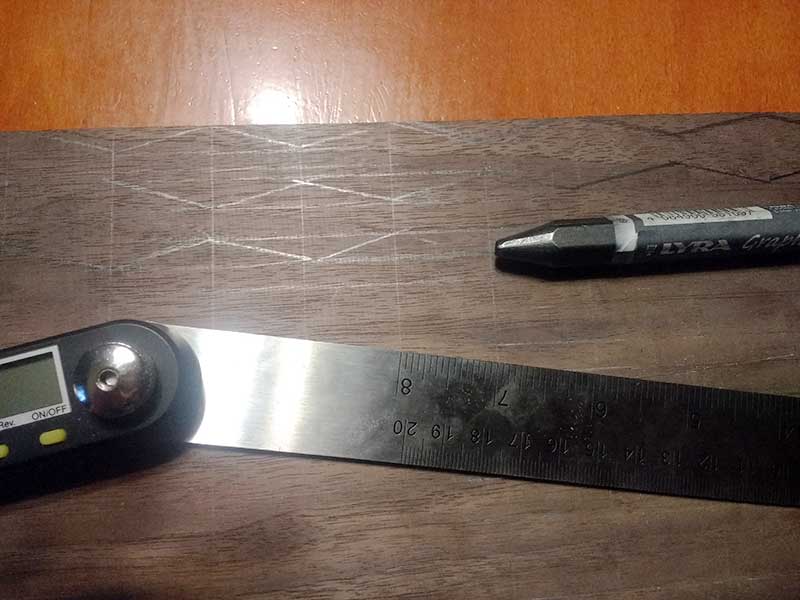
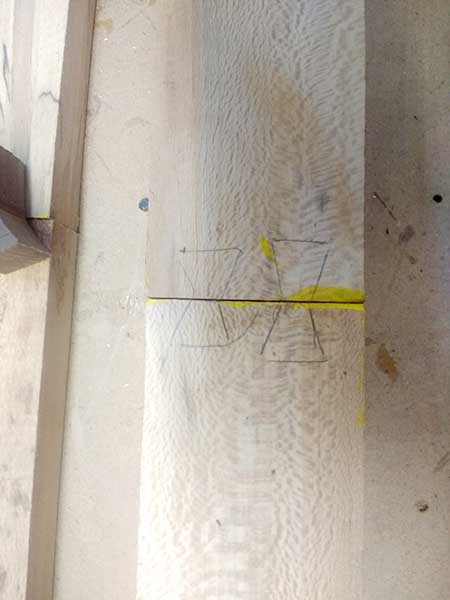
To make the butterflies relatively standard, I used a straightedge to draw a grid, and then drew a line zig-zagging between the intersections in every other row, mirrored in opposing directions.
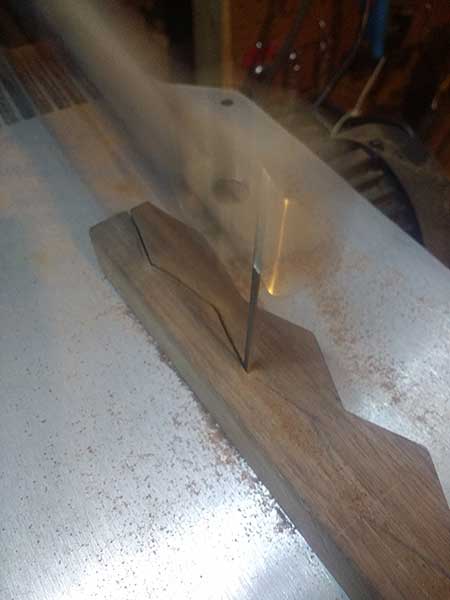
Cutting along these lines with the jigsaw produces a serrated wood band that alternates between one row and three rows wide. The jigsaw is ideal for jobs like this, making complex non-straight cuts on smaller pieces of wood.
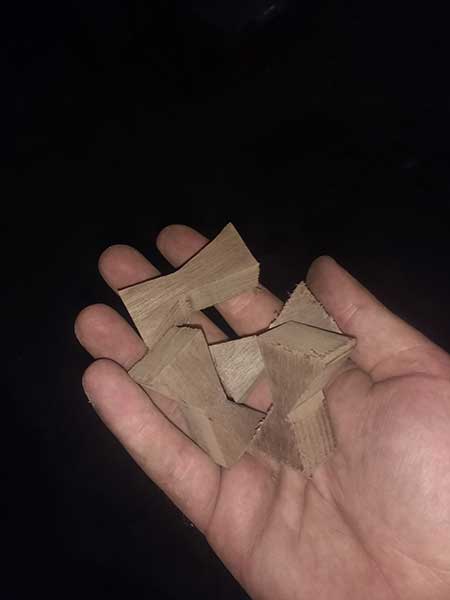
Cut across the widest point, this produces a bunch of bowtie-shaped butterfly joints. Save the sawdust from this work and keep it separate from your other dust and detritus, we’ll use it later.
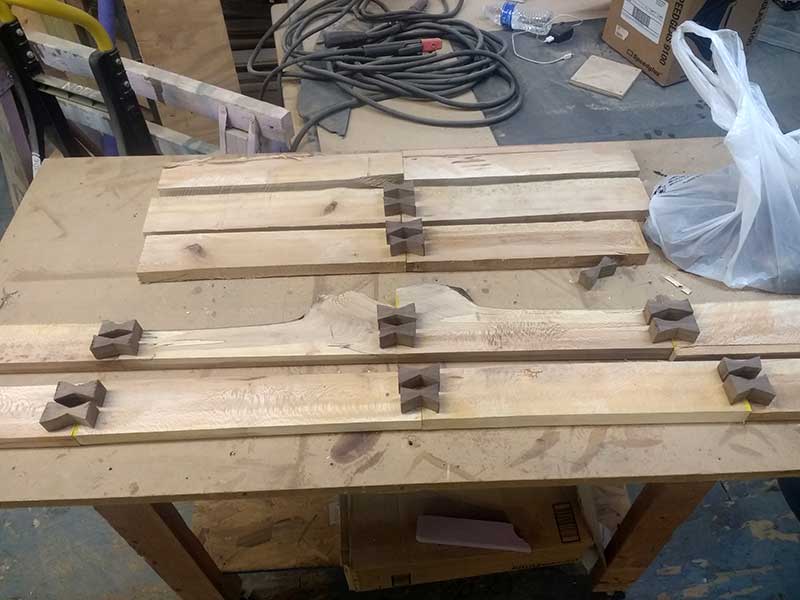
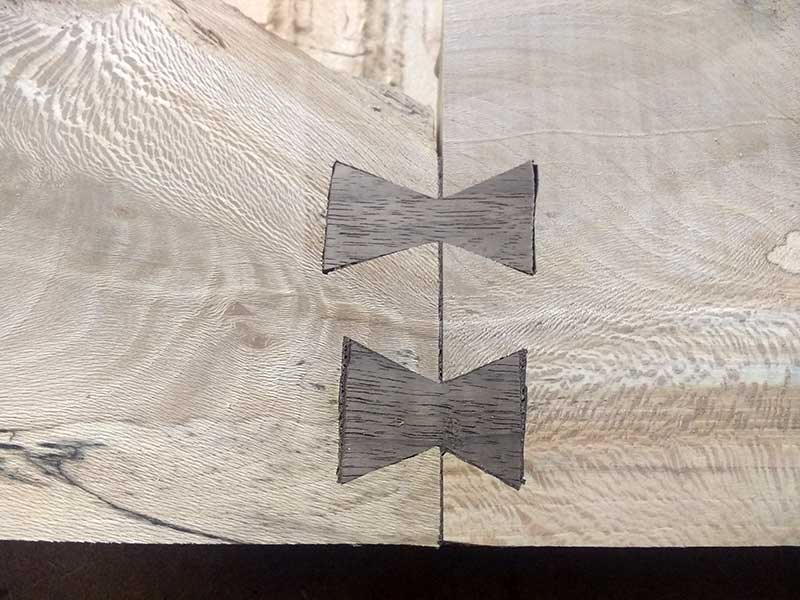
To fit them to the boards, set the boards end-to-end as they’ll be in the finished product, set the butterflies on top, and trace them as closely as possible with a sharp pencil
You could produce a stronger joint by shaving the butterflies down to maybe a third of the width of the main board and inlaying them with chisels but for the sake of speed and simplicity we’ll just cut the gaps all the way through with the jigsaw. Err on the inside of the lines – you can always cut away more wood, it’s harder to go back and cut out less.
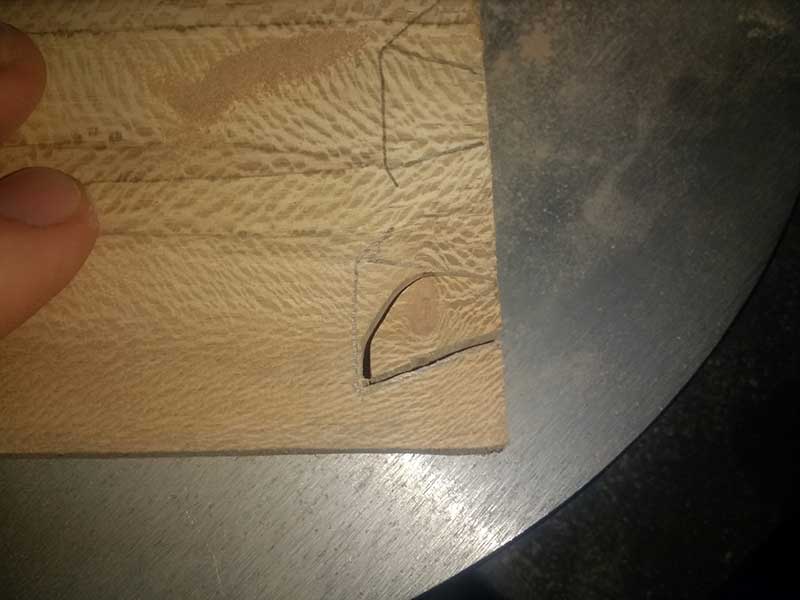
The angles at the end of the butterfly slots are a little too sharp for the jigsaw to handle, so we’ll do them in four parts – cut down one side, cut starting on the other side and making a wide arc down the middle to meet the other cut in the corner, cut down the other side, and finish off the bottom of the slot.
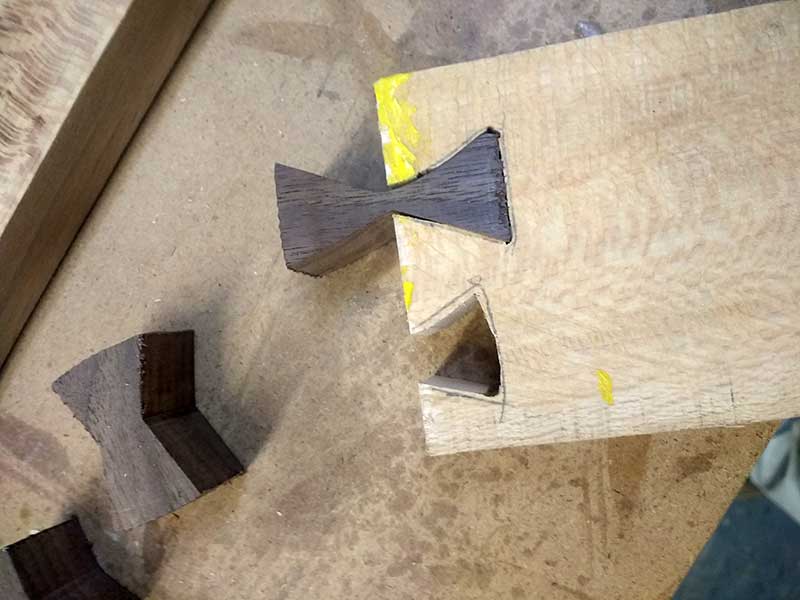
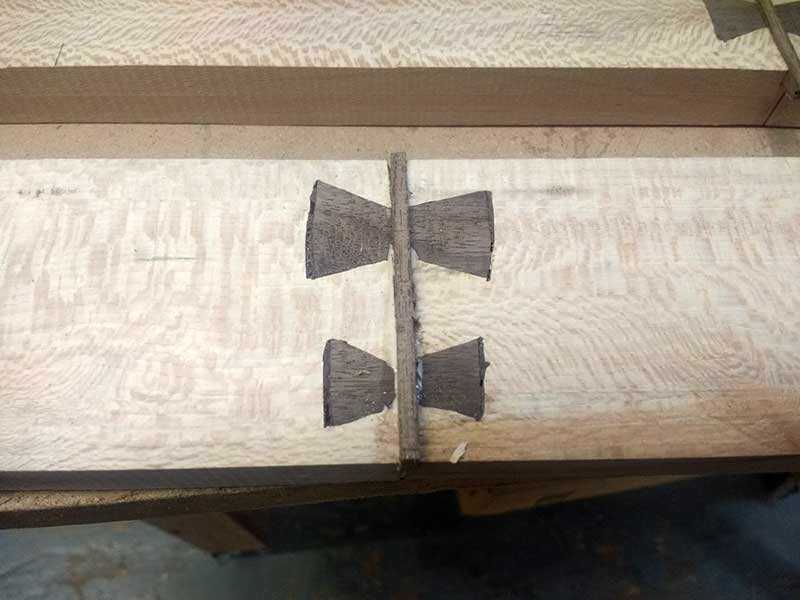
Fit the dovetails to the board, shaving down the gaps with a hand chisel where they’re too small to fit. The end result should let your butterfly joint fit the slots as tightly as possible.
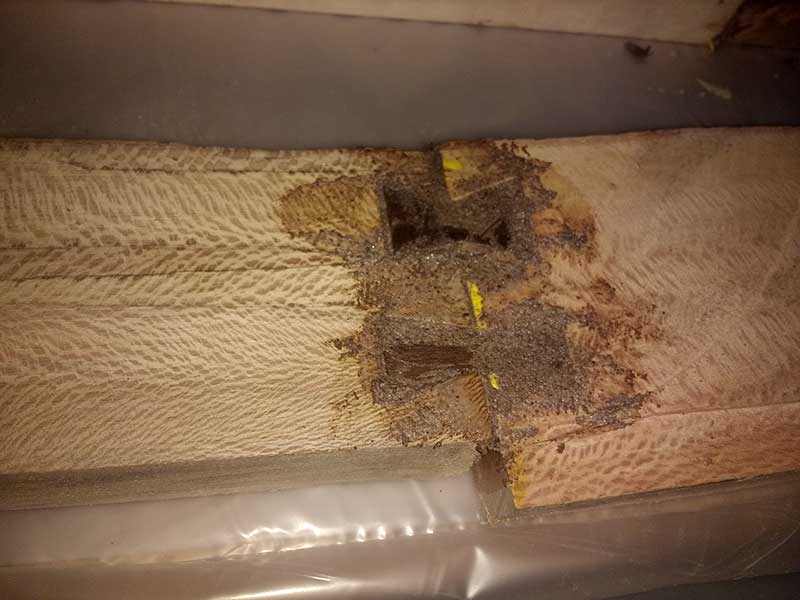
Even the tightest fit will probably leave a visible gap somewhere. We can cover this up almost completely by filling in with a thick mixture of wood glue and dark sawdust, which is where the walnut dust saved from the earlier cutting comes in. Jigsaws produce great, fine-grained, even dust for this kind of use.
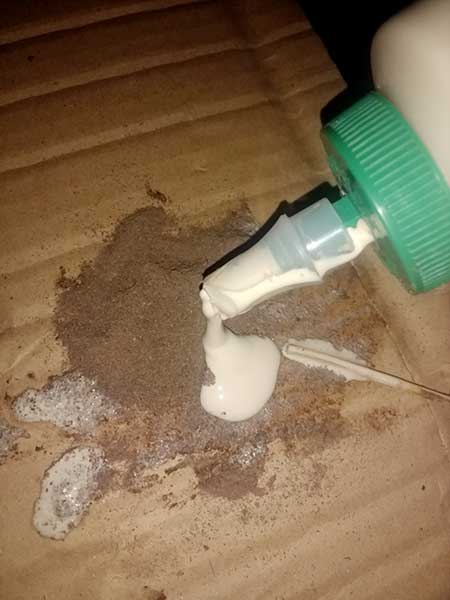
We can just mix the sawdust and glue straight on the workpiece. Spread it on the joints and try to squeeze it into the cracks, and let dry. The end result will look like… kind of a mess.
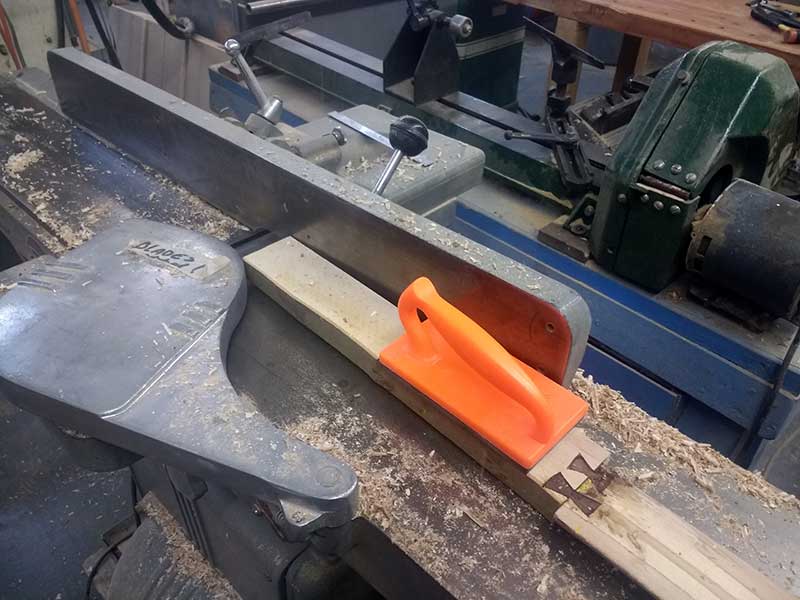
Sand or plane the crust off the surface – I used the jointer here, but a belt sander, hand plane, or fistful of sandpaper will do just fine. With the top layer of mess removed, the remaining joints should be relatively seamless, and will dissappear pretty much entirely when we finish the wood.
I’m still not happy with how the seam between the butt ends of the boards look, so I cut a shallow groove over the seam and inlaid a little strip of 1/8in thick walnut. Sanded down again, this will cover up the whole thing nicely.

An oscillating palm sander with a 220 grit pad will clean up any remaining tooling marks and produce a smooth, even surface for finishing. A few layers of shellac, and we’re ready to put the picture in and hang it on the wall!
